How to “Tile” a Floor with Pennies.
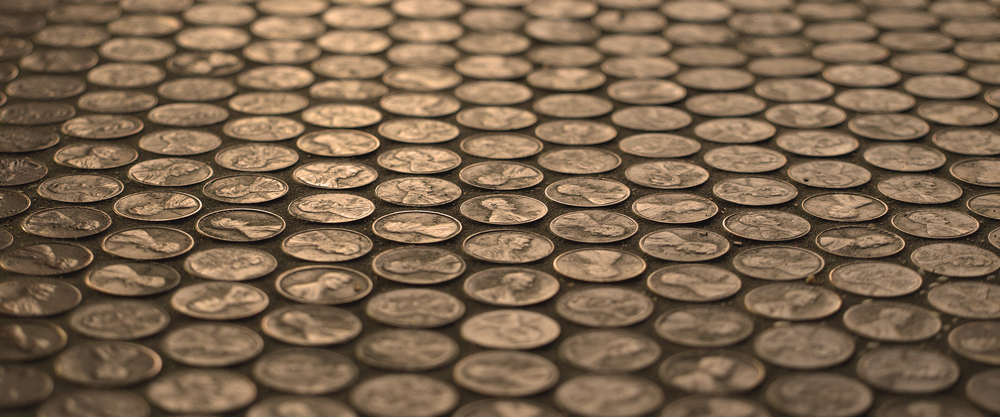
How to “Tile” a Floor with Pennies
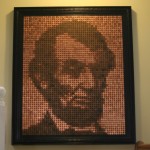
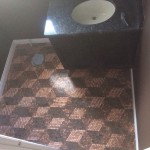
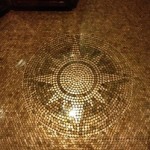
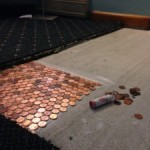
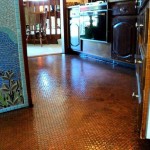
It’s common for people to save their pennies in a jar or a piggy bank. Others leave dropped pennies on the floor of their house so they always have money. Some have taken a creative approach and glued them to the floor to make a beautiful display for guests. Penny-floors have recently become a hit with the DIY community after the Huffington Post covered a story about a couple that covered their 234sqft bathroom with 59,670 pennies in 128 hours (that’s a cost of $2.55/sqft – In the end, expect the pennies to cost a total of $2.00-$3.00/sqft). Sure, you can find tile that is less expensive, but penny-floor DIYers will argue that it certainly doesn’t hold the same aesthetic value.
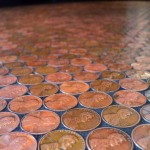
As with any project, planning is everything. Do you clean the pennies first or do you leave them with a more natural appearance? While cleaning isn’t necessary, those who choose to tend to use a cleanser like “Bar Keepers Friend” or “Wright’s Copper Cream/Polish”. Others opt against cleaning to save time or to provide greater contrast between individual pennies. If you plan on using the pennies’ natural contrast to create a design, be sure to plan this in advance to avoid headaches. Wearing gloves while handling the pennies is a good idea because the oils produced by your skin can tarnish the pennies over time.
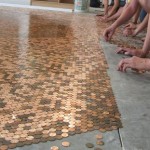
When laying your pennies, choose a starting point and work from that area to the endpoint as opposed to having multiple starting points. Making sure the floor is level will save you plenty of time when adhering the pennies to the ground. To glue the pennies to the ground, some choose to use a self-leveling, thin-set mortar. Most seem to prefer Weldbond Glue, but there are many who have used E6000. On a budget, even Elmer’s glue has been used successfully. Some DIYers choose to put dots of glue on each penny before laying them down. Others claim to save time by using a calking gun to apply adhesive to a larger area before smoothing it out and laying the pennies on top.
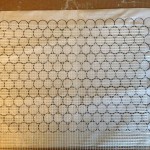
Instead of gluing the pennies directly to the ground, some people first glue them to a mosaic tile mesh. With this method, penny-tile templates are often used to achieve even spacing between pennies. The template is usually fastened to a flat piece of cardboard and covered with clear tape so the adhesive used to glue the pennies to the mesh doesn’t stick to the template. Some people advise against this method as it can leave a blocky, tile-like appearance.
Most people suggest grouting upon completion though it’s not absolutely necessary. A very dark grout is great if you wish to achieve maximum contrast, but if you want a more smooth, cohesive appearance, use a grout color more closely resembling the average color of your pennies. As you apply the grout, clean the excess from the pennies. This is a time consuming, but rewarding process. Do not allow water to sit for too long on the pennies, as they will oxidize and take on a dirtier appearance. Follow the directions on the packaging, as each grout may have its own unique set of directions. Click here for a video of someone applying grout using a proper technique.
To finalize the project, seal your pennies. 2-3 coats of a high-gloss polyurethane sealer is often recommended. Some people apply a clear epoxy as a final coat, as it is harder than polyurethane, but others warn against this because applying clear epoxy over polyurethane may cause the epoxy to crack over time.
You may be curious as to whether or not this is legal. It is legal in the same way flattening a penny to be kept as a souvenir is legal, because the currency is not altered for a fraudulent purpose (i.e. writing extra zeroes on a dollar bill an attempting to pass it off as $100) or to profit from the raw material (i.e melting an old silver coin).

